
In this article
Taking photographs in RAW with a drone gives you a file intended for processing, but it will not correct a blurred or poorly framed photograph, or one containing information the camera could not capture. Start with a carefully considered exposure and keep the original. Then edit a working copy and compare the result with the intention behind the capture.
This article proposes an aerial landscape editing exercise. It does not present one of our photographs or promise to recover any sky or shadow using software.
Check whether the drone takes photographs in RAW
Check the model’s technical specifications and the formats available in the selected photography mode. For example, the official Mini 4 Pro specifications list JPEG and DNG for photography. This does not confirm that the same option is available on all DJI drones.
If the equipment lets you save JPEG and RAW together, use that combination for the first exercise. You will have a reference ready to view and an original to develop. Also check the available space on the card before the session.
Do not confuse RAW photography with D-Log M video. They are options for different workflows. For video, see the tutorial on D-Log M to Rec.709.
Prepare a simple capture
Choose a scene with sky, terrain and a recognisable colour reference. Make a permitted, planned flight, without bringing the drone close to people to capture detail. Use the histogram and highlight warnings when they are available on the equipment.
The aim of the exercise is to preserve useful detail and learn what the file contains. Do not routinely underexpose to «save the sky» if that makes the main subject unusable. Take a short sequence of exposures only if the model allows it and you have time to assess it without compromising the flight.
Before you start, review the pre-flight preparation and the conditions for capturing images at the location.
Import without losing the original
Copy the files and check that they open before deleting the card’s contents. Keep a second copy of the originals and label the folder with the date and location. If the editor relies on a catalogue, include that catalogue in your backup plan.
The Lightroom Classic documentation explains that development adjustments are non-destructive: the programme saves editing instructions without changing the original image. This does not replace a backup of the files or guarantee that every editor works in the same way.
An editing exercise in six decisions
- Initial reference: open the file with a supported profile and look at the image without extreme adjustments.
- White balance: bring the colour closer to the light you want to represent, using a neutral reference where available.
- Exposure: adjust the brightness of the main subject and look at the sky and shadows again.
- Contrast: compare small changes without hiding important texture.
- Detail: assess noise and sharpness at an appropriate scale, without turning edges into halos.
- Crop: decide on the framing and check that the image still makes sense in its intended format.
This sequence is a proposed workflow. There are no fixed exposure, sharpness or noise reduction values that suit every sensor and condition. If you start by applying a strong preset, also save a simpler version for comparison.
What to check before exporting
| Area | Review question |
|---|---|
| Sky | Does the colour transition look consistent, or has it developed blotches? |
| Trees and buildings | Is there useful texture, or have the edges been marked artificially? |
| Shadows | Is the recovered detail worth the noise that remains visible? |
| Colour | Does the saturation support the image or hide differences? |
| Crop | Does the framing retain the subject and important references? |
Compare the edit with the JPEG from the capture, if there is one. You do not need to imitate it, but the comparison helps explain your choices rather than judging only whether the image has become more intense.
Export for a specific destination
Choose the size, colour profile and format according to the destination. For ordinary web sharing, a JPEG in sRGB is a practical starting point, to be confirmed with the platform. The Adobe export documentation explains the format and size options in Lightroom Classic. Keep the RAW file and editing instructions for future versions.
If the file will not open or the copy fails, consult the microSD guide before formatting. To plan the capture, also read the guide to aerial photography.
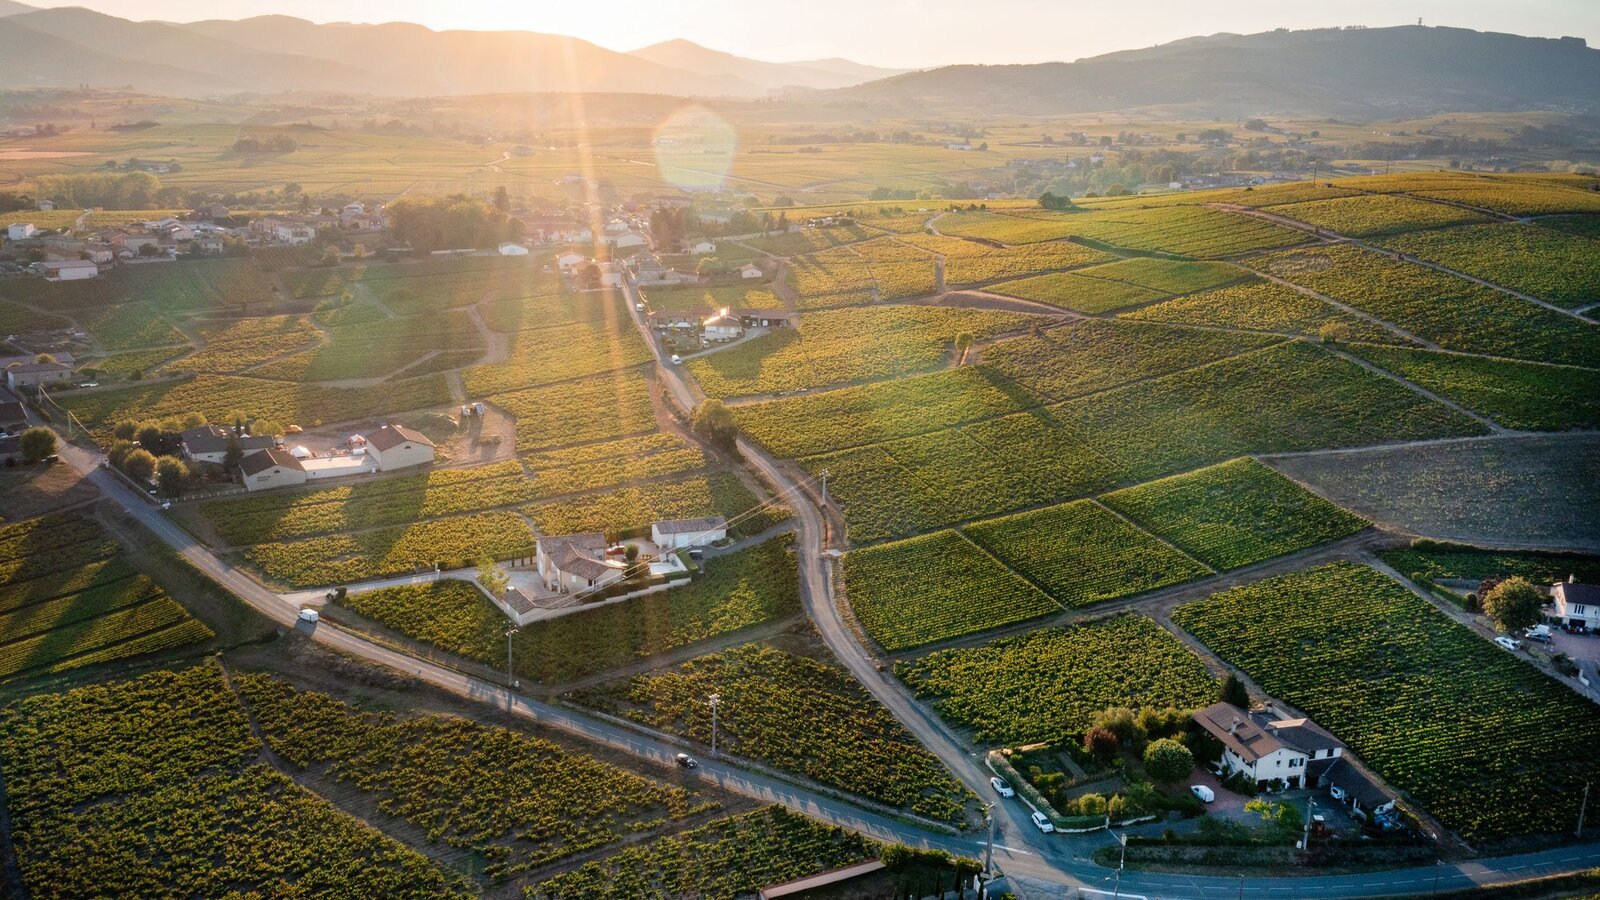
Official sources consulted on 10 October 2026. Proposed editorial exercise; illustrative featured image, with no before-and-after comparison from an in-house test.

Compare before buying
DroneFlyBlog
Keep exploring the world of drones
Get new buying, aerial photography and drone use guides to prepare for your next purchase or flight.