
In this article
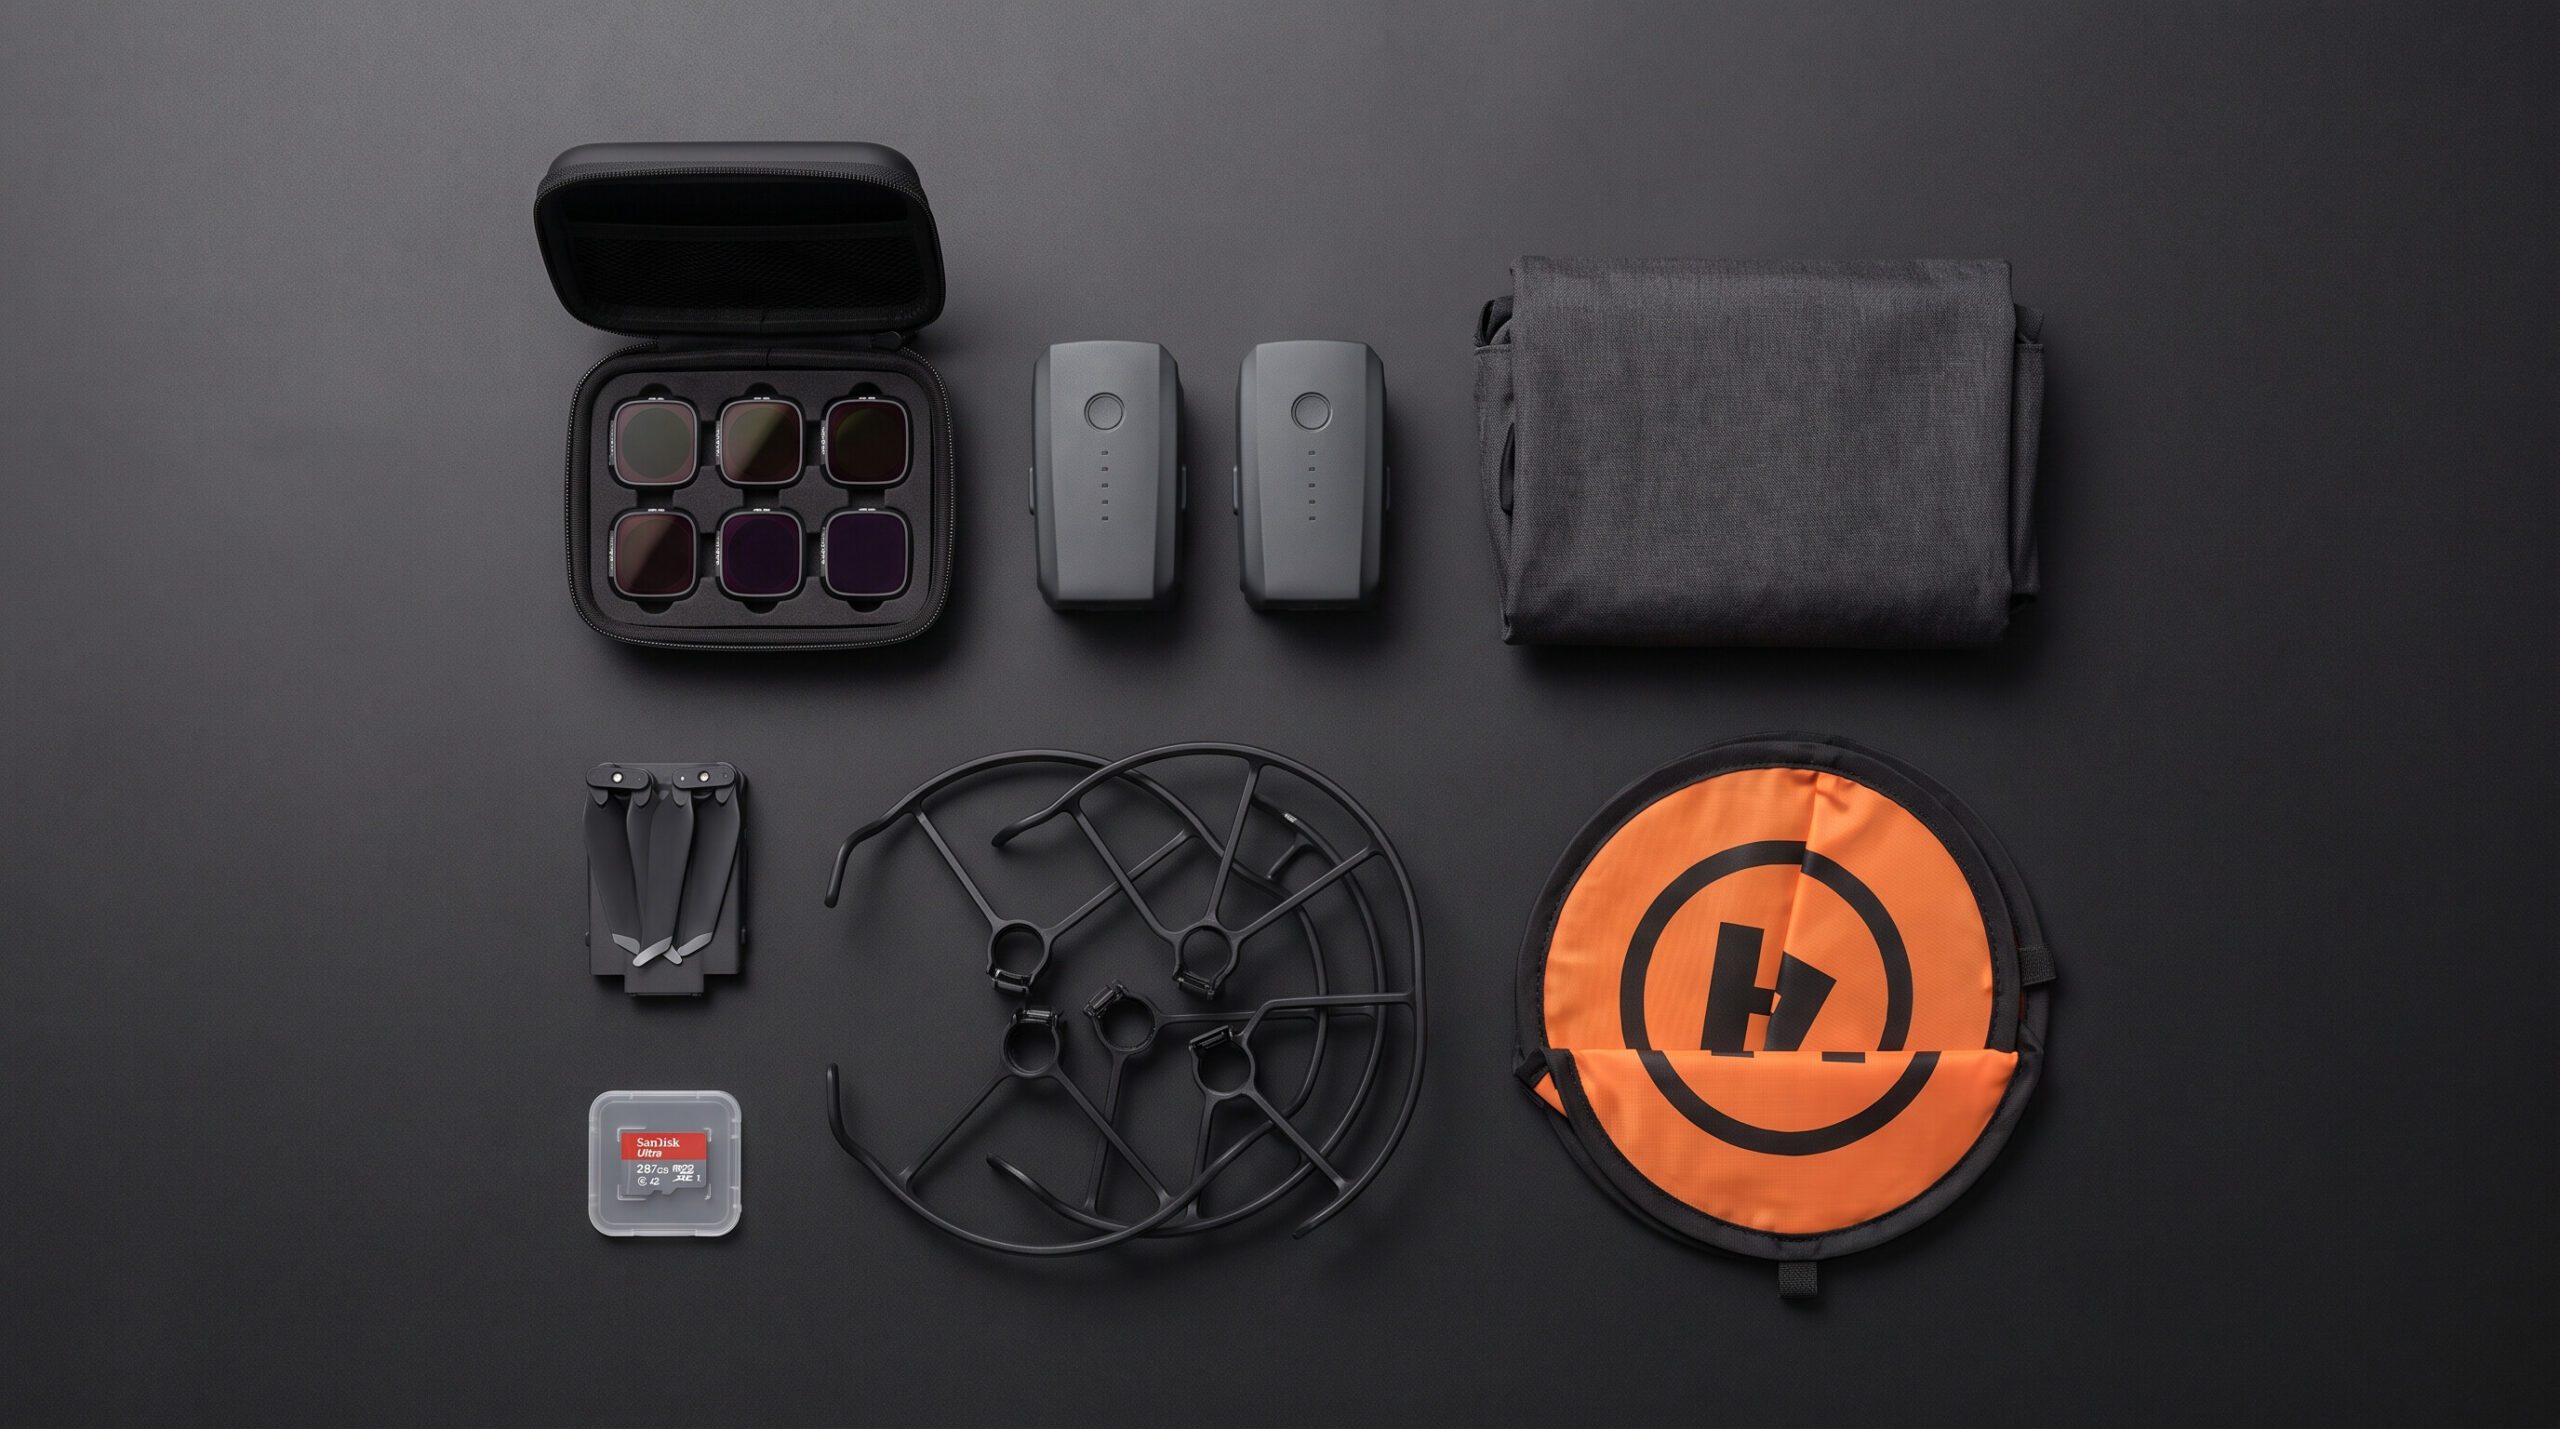
An ND filter reduces the light reaching the drone’s camera. In video, it can help you use a longer exposure time on bright days without making the image too bright. But choosing ND16 or ND32 just because it is sunny is an approximation: the choice depends on the exposure you have and the result you are looking for.
This guide explains how to make that choice with a simple calculation. The examples are theoretical; they do not represent measurements taken with a specific drone.
When it makes sense to use an ND filter
Imagine you are recording at 25 frames per second and you want an exposure time of 1/50 s. If, with the chosen ISO and aperture, the image is too bright, an ND filter can reduce the light until you achieve that exposure. The DJI explanation of ND filters relates this use to the 180-degree shutter convention, which is common in video.
That convention corresponds approximately to double the frame rate: 25 fps and 1/50 s, 30 fps and 1/60 s, 50 fps and 1/100 s. It is a starting point for the look of motion, not a rule. If you want a more staccato motion or need sharp stills, you may prefer a different exposure time.
What ND8, ND16, ND32 and ND64 mean
In reduction factor nomenclature, ND16 lets through approximately one sixteenth of the light. Each full exposure step, or stop, corresponds to doubling or halving the light. The equivalences below follow the HOYA technical filter table.
| Filter | Light transmitted | Reduction |
|---|---|---|
| ND8 | 1/8 | 3 stops |
| ND16 | 1/16 | 4 stops |
| ND32 | 1/32 | 5 stops |
| ND64 | 1/64 | 6 stops |
Note that ND16 corresponds to four stops. The number 16 does not represent sixteen stops nor is it an automatic recommendation for a particular time of day.
An example: going from 1/800 s to 1/50 s
Suppose the exposure without a filter is correct at 1/800 s, keeping the ISO and aperture fixed. You want to switch to 1/50 s. The exposure time becomes sixteen times longer: 800 divided by 50 gives 16. An ND16 is therefore the theoretical starting point to maintain the same exposure.
If the initial reading were 1/1600 s and the target remained 1/50 s, the ratio would be 32. In that example, you would start with an ND32. In practice, check the image again after mounting the filter: the light may change and the effective transmission of the accessory may not match the nominal value exactly.
A sequence for choosing on site
- First, define the frame rate and the desired motion look.
- Choose an ISO suitable for the image profile and the camera. If there is an adjustable aperture, include it in the decision.
- Observe the exposure without a filter and calculate the reduction needed for the desired exposure time.
- With the drone on the ground and switched off, mount a compatible filter, following the manufacturer’s instructions.
- Confirm the fit, the gimbal’s freedom of movement and the exposure before starting to film.
In your preparation sheet, record only four fields: fps, desired exposure time, reading without filter and chosen ND. After reviewing the files on your computer, add a note about the result. This record is more helpful than memorising a table for ‘bright sun’ or ‘cloudy day’.
When to remove the filter
If the available light already allows the desired exposure, there is no reason to add a light reduction out of habit. Revisit your choice when moving from a lit area to one in shadow, or when the sky changes during the session. Plan the flight so you can land and adjust the equipment safely.
For photography, start with the exposure time the subject requires. An accessory useful for creating smooth motion in video is not automatically the best choice for freezing a scene. Our guide to aerial photography frames the remaining decisions; in the list of drone accessories (in Portuguese) you can organise purchases by need.
Sources consulted on 2 October 2026. Nominal table and calculated examples, with no commercial comparison or filter testing.

Compare before buying
DroneFlyBlog
Keep exploring the world of drones
Get new buying, aerial photography and drone use guides to prepare for your next purchase or flight.