
In this article
To prepare vertical drone video, distinguish native vertical capture from cropping a horizontal recording. Both methods can produce a 9:16 file, but offer different margins for composing the frame. Decide where the video will be used before flying and check what your model’s camera can do.
Native vertical and cropping
The Mini 4 Pro is an example of equipment with native vertical capture advertised by the manufacturer. The official DJI page presents True Vertical Shooting. This capability should not be attributed to every drone from the brand or confused with vertical export made by an app.
If your drone only records horizontally, you can prepare a vertical sequence in the editor and choose the region of the image that will remain visible. The main issue then becomes composition: what was well distributed across the width may no longer fit in the crop.
Simply rotating the file is not enough. Rotation changes the orientation of the whole scene; cropping changes the boundaries of the frame. Choose the operation that matches the intended result and check the image in the final format.
How much space is left in a horizontal image?
A geometric example helps explain the margin. In a 3840 × 2160 pixel image, a 9:16 crop that retains the full height is 1215 pixels wide: 2160 × 9 ÷ 16. This calculation describes one possible crop; it is not a specification for every mode on your drone.
As a result, much of the original width is left out of the vertical version. A subject that spans the frame may disappear off one side. Recording at a high resolution does not solve this composition problem, although it may give you more room to work.
A 1080 × 1920 output can be scaled from that crop without increasing its dimensions. Even so, the final quality also depends on the file, compression, exposure and sharpness. Do not interpret the calculation as a guarantee of a perfect export.
Compose for the version you will deliver
If you need horizontal and vertical versions, plan shots that work in both. Keep the main subject in an area that can survive the crop and pay attention to the background. A detail near the edge may become more visible or disappear when you change the format.
Choose simple movements for a first attempt. A short reveal may be easier to adapt than a pass with several subjects on opposite sides. Do not approach people or obstacles to fill the screen: adjust the composition within a safe and permitted operation.
Reframe a copy of the sequence
In the editor, keep the original edit and create a version specifically for the vertical format. The Premiere documentation on Auto Reframe describes creating a duplicate sequence and applying reframing to the clips.
An automatic tool can save work, but review every shot. Check whether it follows the subject you want to show, creates unexpected movements, or leaves text or graphic elements outside the frame. If the automatic choice does not suit the scene, adjust that shot manually.
Check the exported file
If the video includes subtitles, leave enough space to read them without covering the main subject. Also review the first and last frame of each clip: a crop that is acceptable in the middle of a shot may cut off the important subject when the movement starts or ends.
Open the exported video outside the project. Check the aspect ratio, orientation, absence of unwanted bars and text legibility. Also view it on a small screen to assess whether the composition remains clear. Check each platform’s publishing specifications at the time of delivery.
Keep the original horizontal or native vertical version and the final version separately. For your next recording, use the video settings, the exposure readout and the stuttering playback diagnosis.
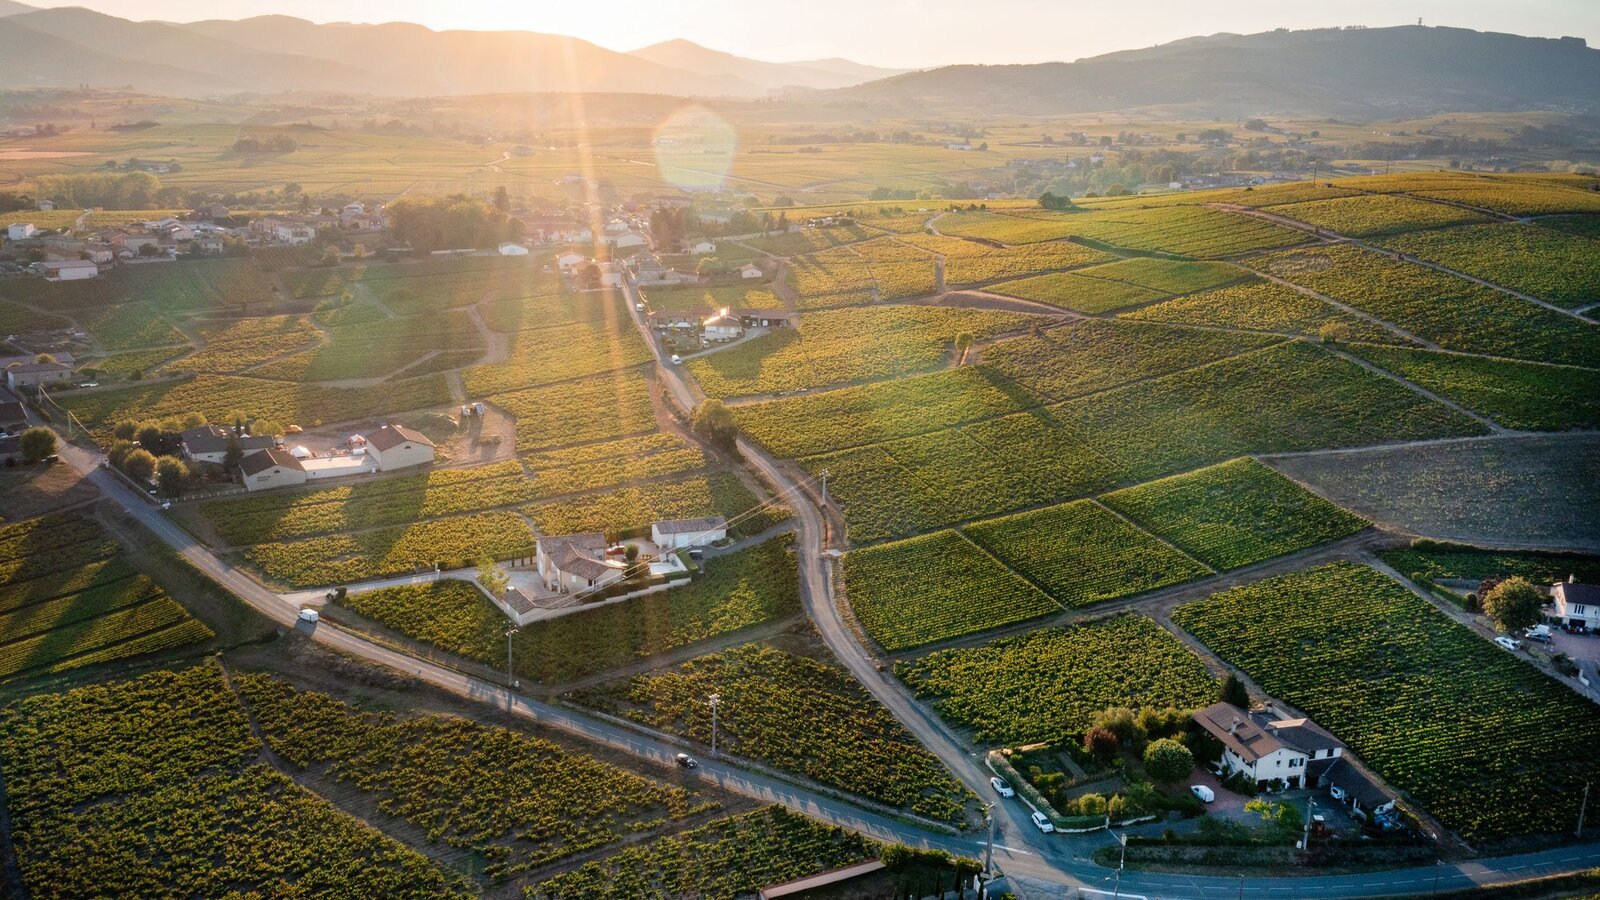
Illustrative image. The calculation shown is an example of cropping, not a quality test between drones.

Compare before buying
DroneFlyBlog
Keep exploring the world of drones
Get new buying, aerial photography and drone use guides to prepare for your next purchase or flight.