
In this article
The histogram helps you assess the exposure of a drone photograph when screen brightness makes the image difficult to read. It shows the distribution of tones, but it does not decide for you what the photograph should look like. A dark landscape and a bright beach can have very different graphs and both be well exposed.
How to read the graph
The darkest tones are on the left and the lightest on the right. The height of the graph shows the number of pixels in each tonal region. The Adobe Camera Raw documentation explains the histogram and the indicators for loss of detail in shadows and highlights.
A high peak is not automatically an error. It may correspond to a large area of sky or a wall with a uniform tone. What matters is relating the graph to the subject and understanding whether you are losing information you want to keep.
You also do not need to fill the entire tonal range in every photograph. Forcing a foggy scene to have very deep blacks and intense whites may go against the image you intended to create.
Do not confuse screen brightness with exposure
Outdoors, you can increase the brightness of the controller to see better. This changes how the image is displayed, not the exposure already set in the camera. Avoid darkening a photograph simply because the screen looks too bright after this change.
If your model’s app offers a histogram or overexposure warning, consult the manual to enable them. Do not copy a menu path without checking the version. Use these tools to complement the image and review the original later on a computer.
Choose the detail you want to preserve
In a composition with a bright sky and dark ground, identify the main element. Do you want to preserve texture in the clouds, detail on the façade or the silhouette of the ground? This decision helps you interpret the exposure instead of chasing an ideal shape for the graph.
The Adobe explanation of exposure relates aperture, shutter speed and ISO. On a drone with a fixed aperture, that variable is not available for you to adjust freely. Check which controls your equipment actually lets you use.
For photography, also assess movement before reducing the shutter speed. The exposure may seem suitable, yet the photograph may come out blurred. For video, the choice of shutter speed has different implications; consult the video settings guide instead of applying the same approach to both cases.
Exercise: three exposures of a scene
In a suitable location and conditions, prepare a simple composition with light and dark areas. Capture one image with the initial exposure, one slightly darker and another slightly lighter. Keep the remaining conditions as similar as possible and record the change made.
This exercise does not require you to fly further or closer to obstacles. You can practise reading the tools before the flight and prepare the comparison without increasing the complexity of the operation.
On a computer, open the three images without applying a different automatic edit to each one. Observe the subject, the histogram and the areas where detail is missing. Ask which photograph best serves your original intention, not just which has the most spread-out graph.
What editing can clarify
The editor’s clipping warnings help locate areas that reach the extremes in the displayed image. Try a small adjustment and return to the original to understand the difference. Do not conclude that all detail can be recovered just because you chose RAW.
If the scene exceeds what you can capture in a single exposure, consider changing the composition, the time of capture or the method. A sequence of exposures requires its own workflow and does not automatically resolve movement between images.
To continue, read the RAW capture and editing guide and the diagnosis of blurred photographs. Exposure and sharpness should be assessed separately, even when the problem appears in the same image.
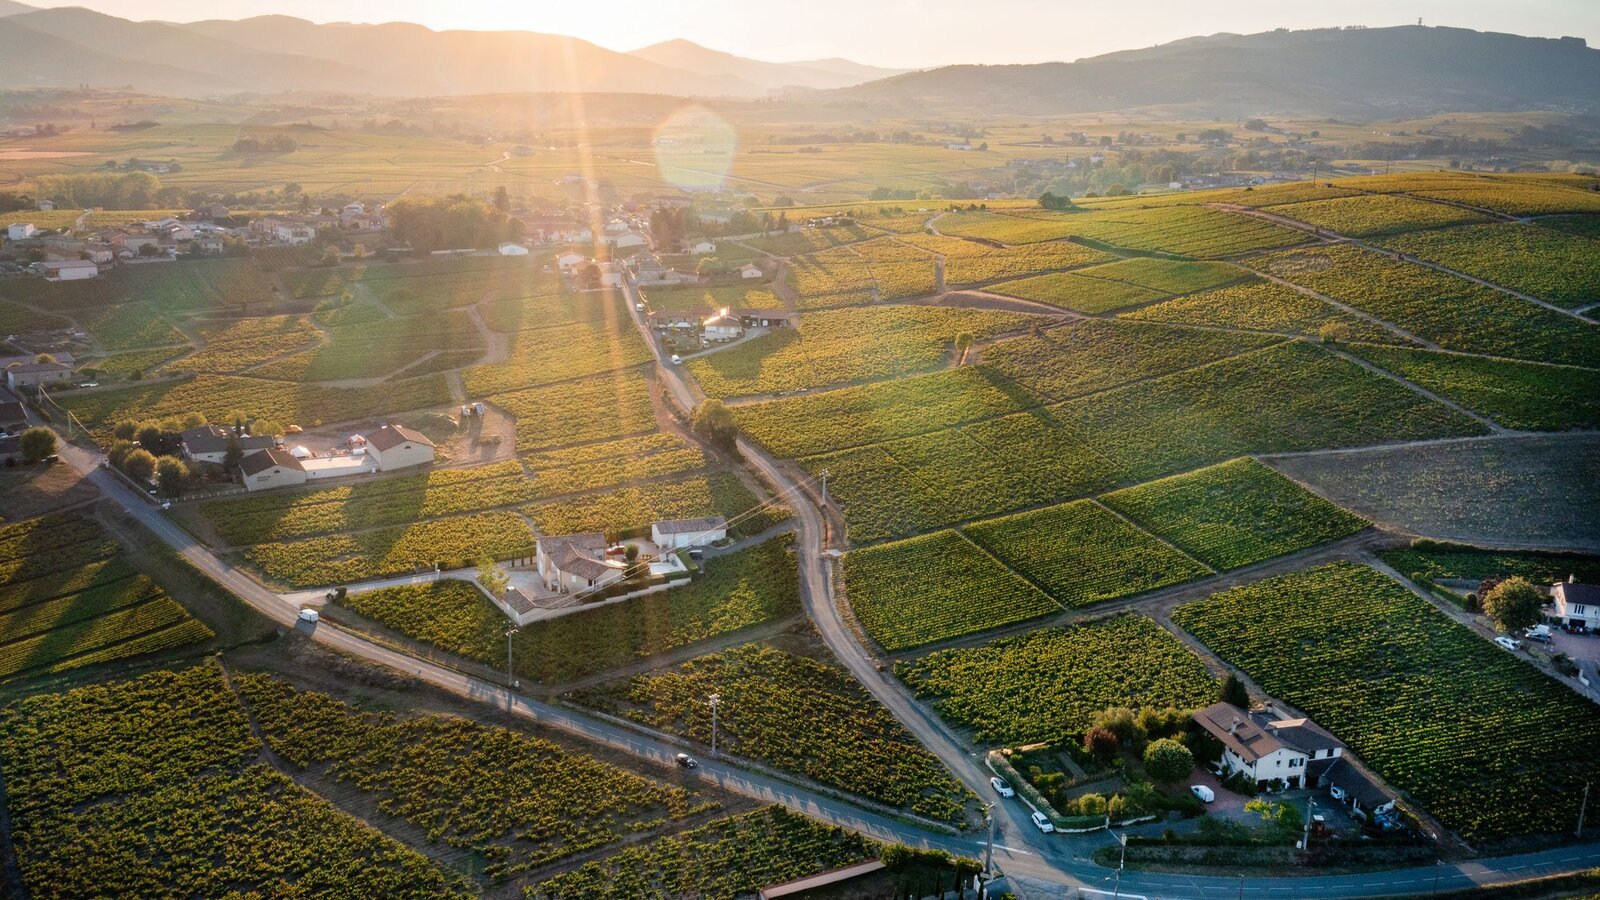
Illustrative image. The exercise described is a learning proposal, with no test results attributed to the author.

Compare before buying
DroneFlyBlog
Keep exploring the world of drones
Get new buying, aerial photography and drone use guides to prepare for your next purchase or flight.