
In this article
A hyperlapse combines photographs captured over time with camera movement. For your first drone exercise, choose a simple route, an interval you understand and a duration compatible with your battery reserve. The final video may last only a few seconds and require several minutes of capture.
Before planning the effect, check whether your model has a Hyperlapse mode and which options are available. Do not transfer the interval, speed or route limits of another drone to yours.
Choosing a subject and a movement
A landscape with recognisable movement helps you understand the effect: changes in the clouds or movement of distant elements, for example. Also assess what could enter the route during capture. An interesting scene does not make up for a location with people or obstacles that you cannot manage.
For learning, favour a short movement that is easy to follow. Leave orbits close to structures and complex routes until you know the equipment and have the necessary framing. A route recorded on the map still requires assessment on site.
Confirming the supported mode
The official DJI Hyperlapse guide presents modes such as Free, Circle, Course Lock and Waypoints for the equipment it covers. Procedures and limits vary. The guide also describes estimating capture time and, in certain combinations, keeping the original photographs.
Read the section for your equipment. Check where to select the interval, how to set the route and which control stops capture. Do not look for the stop button when you already need to end the flight.
Interval and duration: doing the maths
If you edit a video at 25 frames per second and want a ten-second result, you need 250 photographs, assuming one photograph per frame. With a two-second interval, that represents approximately 500 seconds of capture, or eight minutes and twenty seconds.
This is a planning calculation: the interval between the first and last photograph is slightly shorter, and the automatic mode may have its own cadence and additional times. Do not use this example as an indication that the drone always generates video at 25 fps.
| Change | Planning consequence |
|---|---|
| More seconds of video, same frame rate | More photographs required |
| Longer interval, same number of photographs | More capture time |
| Higher editing frame rate, same final duration | More photographs required |
| Longer route | Reassess time, conditions and return reserve |
Check the estimate shown by the app and add time for take-off, positioning, return and landing. The stated battery life is not an entirely available allowance for the sequence.
Preparing exposure and storage
For a first test, look for a relatively stable light window and a consistent setup. Marked changes between photographs can make the result difficult to assess. Make a short capture and review it before committing to a long sequence.
Check whether you want to keep the originals and how much storage space is available. Do not count only on the size of the final video. If the app allows you to save the photographs, check this option before the flight and verify the files afterwards.
Consult the official Mini 4 Pro instructions if that is your model; for other equipment, use its respective manual. The microSD guide helps you prepare the recording medium.
A short exercise to get started
- Choose a permitted location and a sequence you can follow visually.
- Check the route, return point and alternative landing site.
- Set a short result and read the capture estimate.
- Check the exposure, storage and stop control.
- Start the sequence and monitor the flight, alerts and battery.
- Stop if conditions no longer permit the operation.
- Review the video and originals before changing a setting for a new test.
This exercise is a learning proposal. The automatic function does not replace the pre-flight checklist, applicable visual contact or the location restrictions.
Reviewing the result
Look for position jumps, changes in light and crops that are too tight. If the edit requires stabilisation, compare the result with the original sequence and assess the crop introduced. Do not delete the photographs just because the first video was not smooth.
If playback on the computer fails, consult the jerky video troubleshooting guide. Distinguish a playback failure from irregular movement recorded during capture.
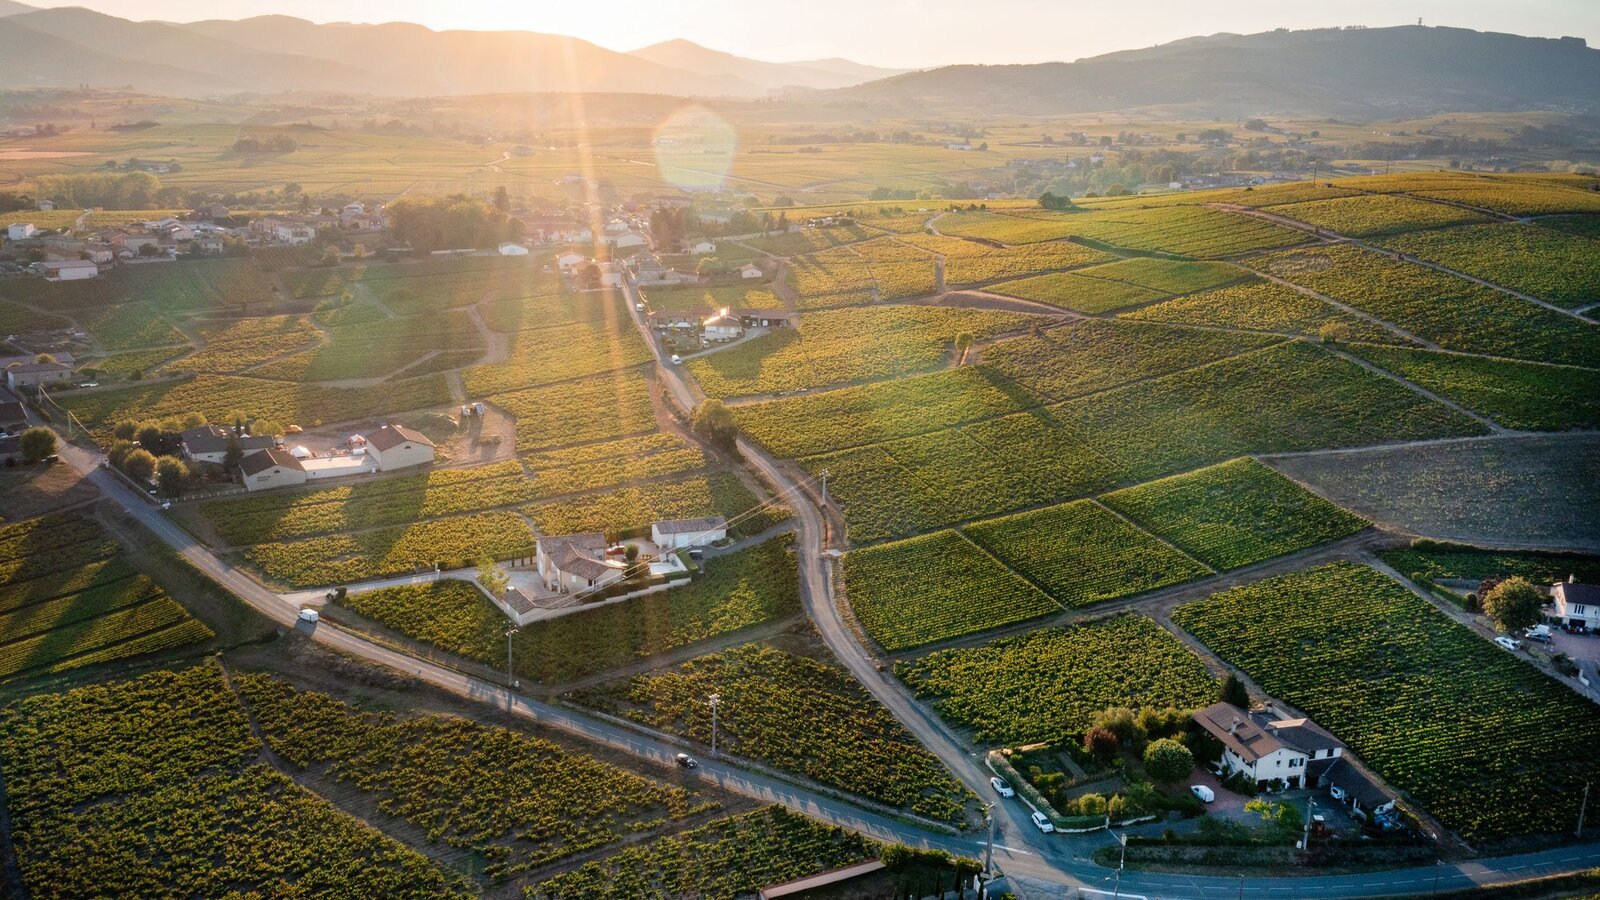
Official sources consulted on 10 October 2026. Illustrative calculation and proposed exercise, without a test of our own or guaranteed flight time. Illustrative image.

Compare before buying
DroneFlyBlog
Keep exploring the world of drones
Get new buying, aerial photography and drone use guides to prepare for your next purchase or flight.