
In this article
Drone for Aerial Photography: The Ultimate Guide
I’ll be direct: aerial photography with drones has completely changed the way we see the world. What once required a helicopter and thousands of euros, today you can achieve with equipment that fits in a backpack. But choosing the right drone, mastering the settings and composition techniques, that makes all the difference between a mundane photo and a breathtaking image.
In this guide, I’ll cover everything you need: the best drones for photography in 2026, ideal camera settings, aerial composition techniques, and post-production tips. Let’s get into it.
The Best Drones for Aerial Photography in 2026
Not all drones are made for photography. Some focus on video, others on speed. For serious aerial photography, you need a large sensor, good resolution, and stability. Here are my recommendations:
| Model | Sensor | Resolution | Weight | Price (€) | Ideal For |
|---|---|---|---|---|---|
| DJI Mavic 4 Pro | 4/3 Hasselblad | 100 MP | ~1063g | ~2.200€ | Professional / landscape |
| DJI Air 3S | Dual cam (wide + tele) | 50 MP | ~720g | ~1.100€ | Versatility / travel |
| DJI Mini 5 Pro | 1″ | 50 MP | ~249.9g | ~800€ | Maximum portability |
| DJI Mini 4 Pro | 1/1.3″ | 48 MP | 249g | ~600€ | Best value for money |
DJI Mavic 4 Pro, The King of Aerial Photography
If aerial photography is your number one priority, the Mavic 4 Pro is unbeatable. The Hasselblad 4/3 sensor with 100 megapixels captures an absurd level of detail. You can do aggressive cropping without losing quality, and the dynamic range allows you to easily recover shadows and highlights in post-production.
DJI Air 3S, Versatility with Quality
The Air 3S is the smart choice for those who want photography and video without compromise. The dual camera (wide-angle + telephoto) gives you enormous creative flexibility, you can switch between perspectives without moving the drone. The 50 MP are more than enough for large-format prints.
DJI Mini 5 Pro and Mini 4 Pro, Under 250g
If portability is essential (and the simplified regulations for sub-250g drones are important to you), these two are excellent. The Mini 5 Pro with 50 MP rivals much larger drones. The Mini 4 Pro, with 48 MP and a more accessible price, continues to be the champion of value for money.
Camera Settings for Aerial Photography
Having the right drone is half the battle. The other half is the settings. Here’s what you should do:
Always Shoot in RAW
No discussion. JPEG compresses and discards information. RAW gives you total control in post-production, recover shadows, adjust white balance, correct exposure. If you shoot in JPEG, you’re wasting your sensor’s potential.
Low ISO, Always
Keep the ISO as low as possible: 100 or 200. Drone sensors are small compared to full-frame cameras, which means more noise at high ISOs. Above ISO 400, quality degrades visibly. If you need more light, adjust the shutter speed or use ND filters.
Shutter Speed
For sharp photos, use at least 1/500 of a second. Remember: the drone vibrates slightly, even with a gimbal. On windy days, go for 1/1000 or more. For creative motion effects (like smooth waterfalls), you can drop to 1/30, but you’ll need ND filters.
ND Filters, Essential
ND filters are the sunglasses for your drone. They reduce the light entering the sensor, allowing slower shutter speeds or wider apertures in bright conditions.
| Filter | Reduction | When to Use |
|---|---|---|
| ND8 | 3 stops | Cloudy days / early morning |
| ND16 | 4 stops | Partly cloudy days |
| ND32 | 5 stops | Strong sunlight / midday |
In my opinion, an ND8/ND16/ND32 set covers 90% of situations. Invest in a good kit, the difference is huge.
Aerial Composition Techniques
The aerial perspective opens up possibilities that don’t exist on the ground. But without composition, it’s just “a photo from above.” Here are the techniques that make the difference:
Top-Down (Bird’s-Eye View)
The camera points straight down at a 90-degree angle. This perspective transforms the world into abstract patterns, agricultural fields become geometry, roads become lines, pools become splashes of color. It’s one of the most distinctive perspectives in aerial photography.
Leading Lines
Roads, rivers, coastal paths, fences, any line that guides the viewer’s eye through the image. From above, leading lines gain a completely different dimension. Position the drone so the line leads the eye from the lower corner to the center or upper corner.
Scale Contrast
Placing something small next to something large creates immediate visual impact. A person on an empty beach. A car on a deserted road in the middle of mountains. A boat in the ocean. The drone’s altitude amplifies this contrast dramatically.
Golden Hour and Blue Hour
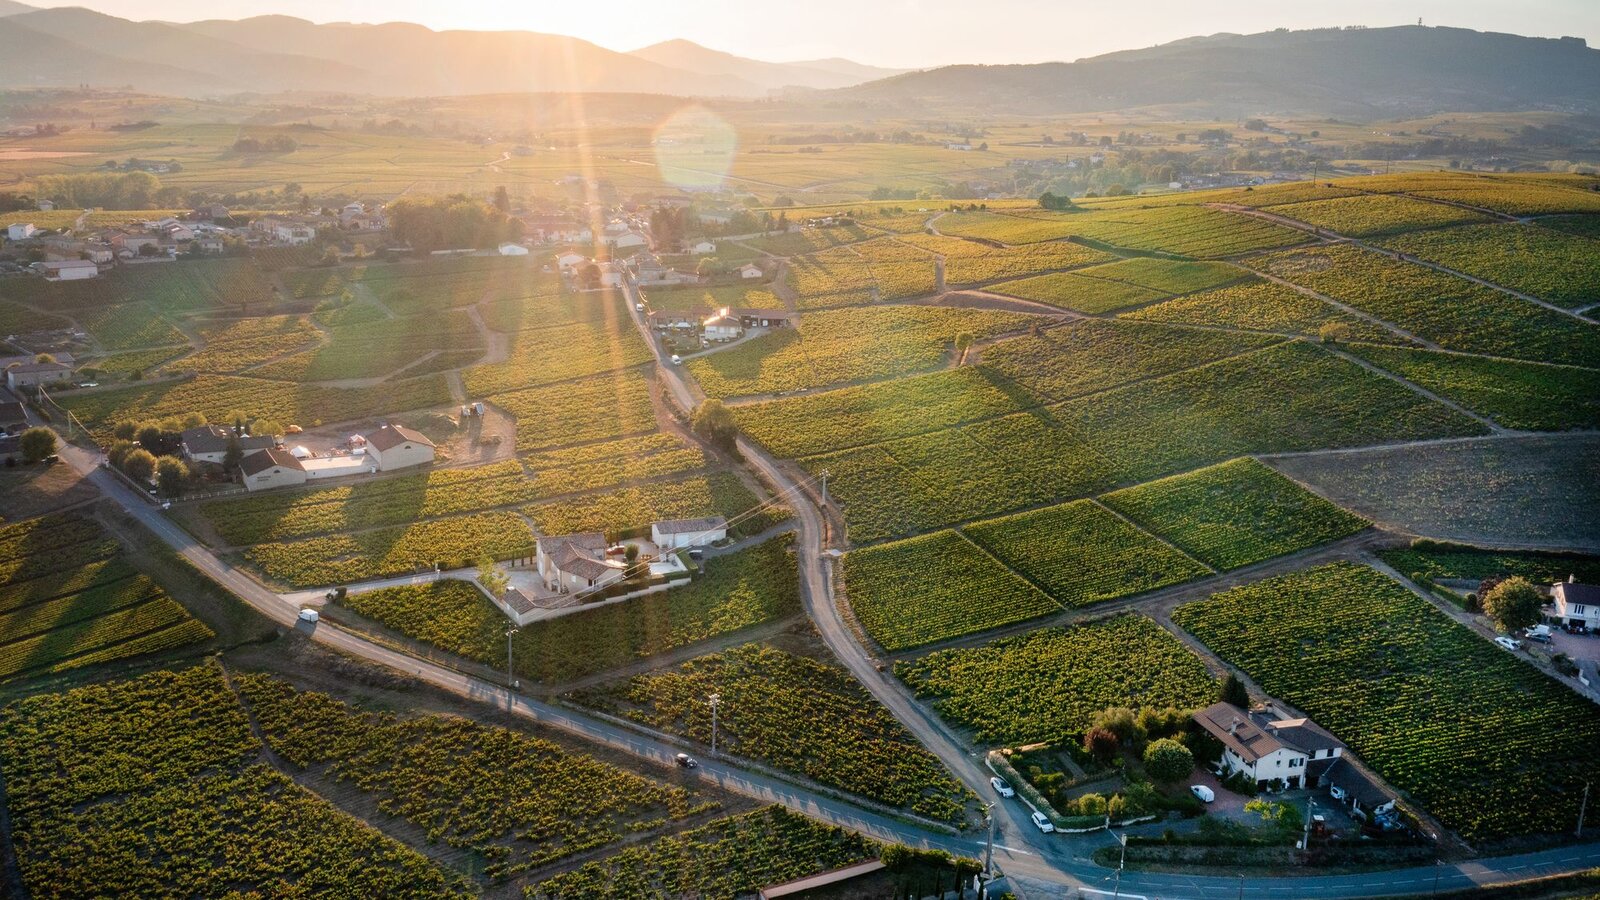
The first and last hour of sunlight are magical on the ground, from the air, they’re transcendent. Long shadows create texture, golden light warms everything, and altitude allows you to capture the sky’s gradient in a way impossible at ground level. Plan your flights for these hours.
Water Reflections
Lakes, calm rivers, puddles after rain, any still water surface is an opportunity. From above, reflections create perfect symmetries. Fly early in the morning when the wind is calm and the water looks like a mirror.
Post-Production: From Good to Extraordinary
Post-production is where aerial photos come to life. It’s not about “faking”, it’s about extracting the maximum from what the sensor captured.
Adobe Lightroom, The Base Tool
Lightroom is the industry standard for photographic post-production, and for good reason. The workflow is fast, non-destructive, and presets allow consistency across photo series.
Shadow and Highlight Recovery
If you shot in RAW (and you should), you have a huge margin to recover detail. In aerial photography, it’s common to have overexposed skies and deep shadows, recovery balances the image without looking artificial.
Aerial Panoramas
Most modern drones have automatic panorama mode, but manual results are superior. Overlap 30-40% between photos, shoot in RAW, and use Lightroom’s merge or dedicated software like PTGui. Spherical and 180° panoramas create absurdly high-resolution images.
HDR Merge
For scenes with extreme dynamic range (sunset over a dark landscape, for example), shoot exposure brackets (3 or 5 photos with different exposures) and merge in HDR in Lightroom. The result: detail in shadows AND highlights, without an artificial look.
Practical Tips for Better Photos
- Plan your flight, use apps like Google Earth or PhotoPills for scouting before flying
- Fly at different altitudes, the same scene at 30m and 120m are completely different photos
- Experiment with angles, don’t limit yourself to 90° (top-down) and 45°. Oblique angles create depth
- Bring extra batteries, nothing worse than running out of battery during golden hour
- Check the regulations, don’t risk fines for a photo. Confirm flight zones in the best drone guide
FAQ, Aerial Photography with Drone
What is the best drone for aerial photography?
For professionals, the DJI Mavic 4 Pro with Hasselblad 100 MP sensor is unbeatable. For enthusiasts wanting portability, the Mini 5 Pro with 50 MP and under 250g is the best quality-to-portability ratio.
Do I need ND filters for drone photography?
Yes. ND filters are essential to control exposure in bright conditions. They allow slower shutter speeds for creative effects or keep ISO low. An ND8/ND16/ND32 kit is a mandatory investment.
Should I shoot in RAW or JPEG?
Always RAW. The file is larger, but the amount of information retained for post-production is incomparably superior. You can recover shadows, correct exposure, and adjust colors without degrading the image. JPEG is acceptable only if you’re not editing the photos, which, for serious aerial photography, never happens.
You might also be interested in: Best drone for aerial photography in 2026, 3-axis gimbal, 4K, and large sensors.

DroneFlyBlog
Keep exploring the world of drones
Get new buying, aerial photography and drone use guides to prepare for your next purchase or flight.